International Letter Mail Shipping Available
 Security policy
No data sold or shared. NO SPAM!
 Economy Shipping
Sent by Letter Mail - No Tracking
 Return policy
90-day money back guarantee
.png) USD
USD
$ Indicates prices are in USD
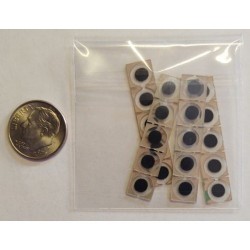
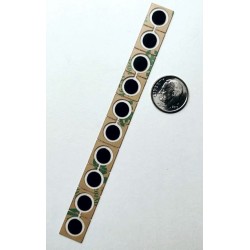
Do-It-Yourself
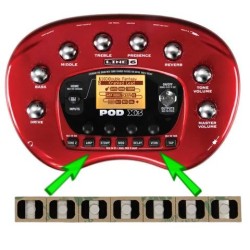
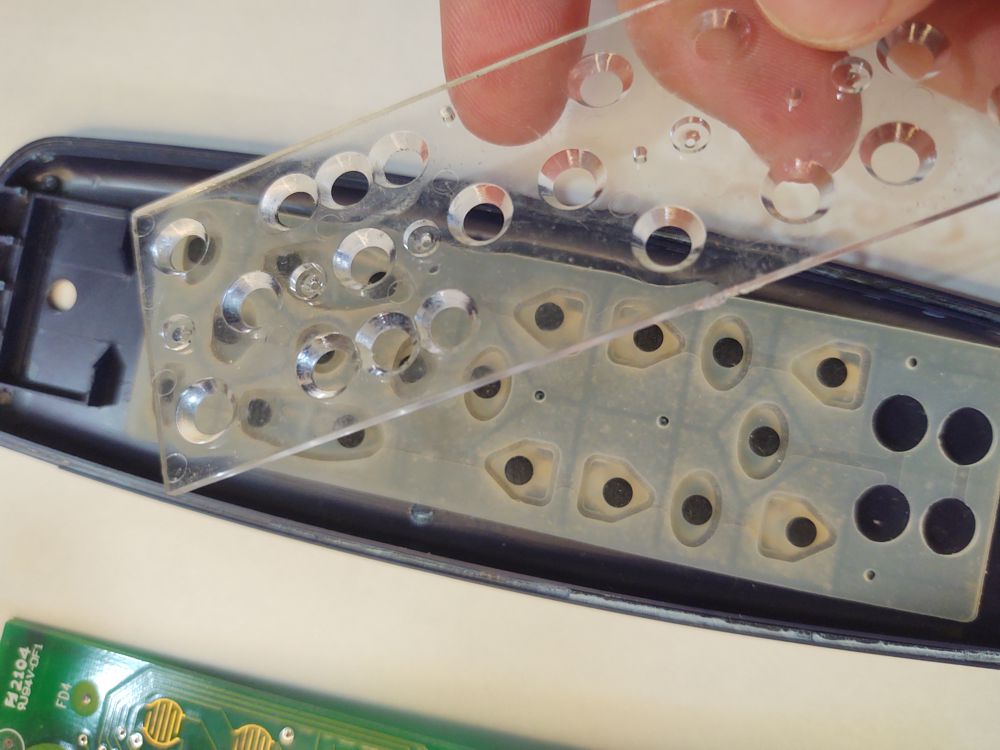
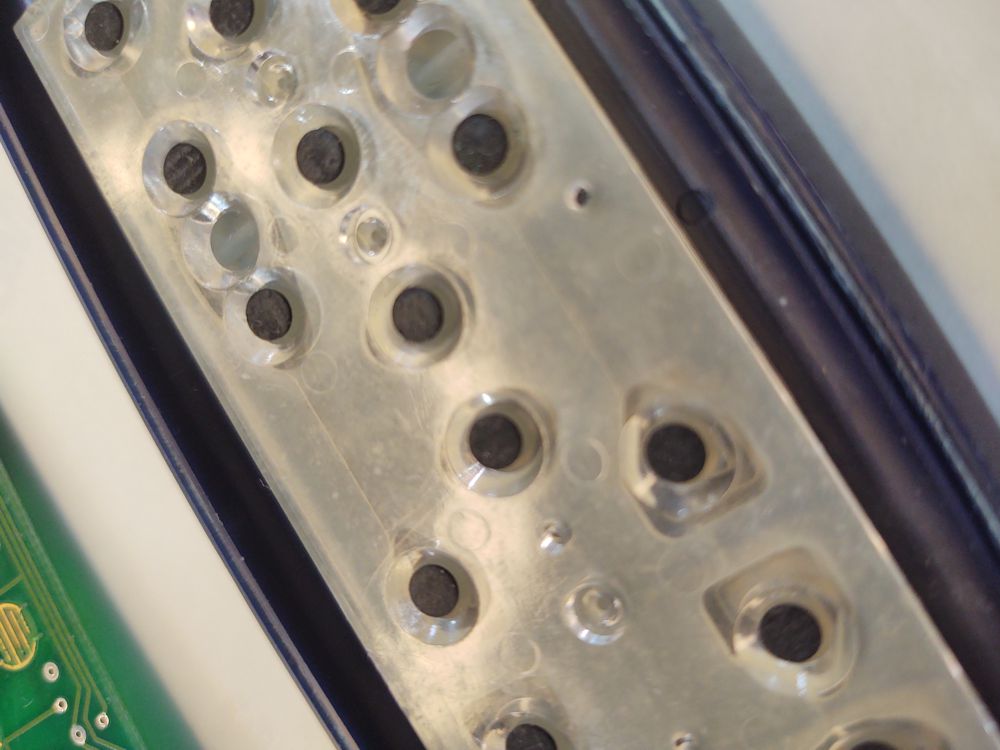
Permanently repairs rubber keypad buttons by replacing the conductive material.
Your buttons fails when the conductive pad wears out and silicone oils seep from the keypad. This gooey paste blocks electrical conductivity and stops the switch from working.
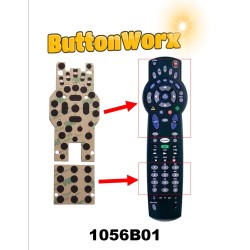
The ButtonWorx membrane keypad blocks dirt and oil from reaching the circuit board and offers a new conductor that cannot break down like rubber conductors do.
Note: This is for repairing hard to press buttons. If all your buttons stopped working one day, then the remote is broken (not the buttons) and needs repair
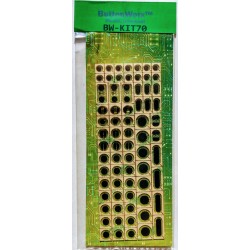
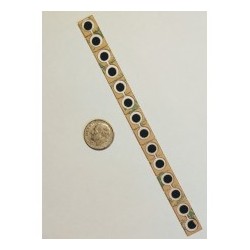
Our membrane keypads are custom cut for each model.
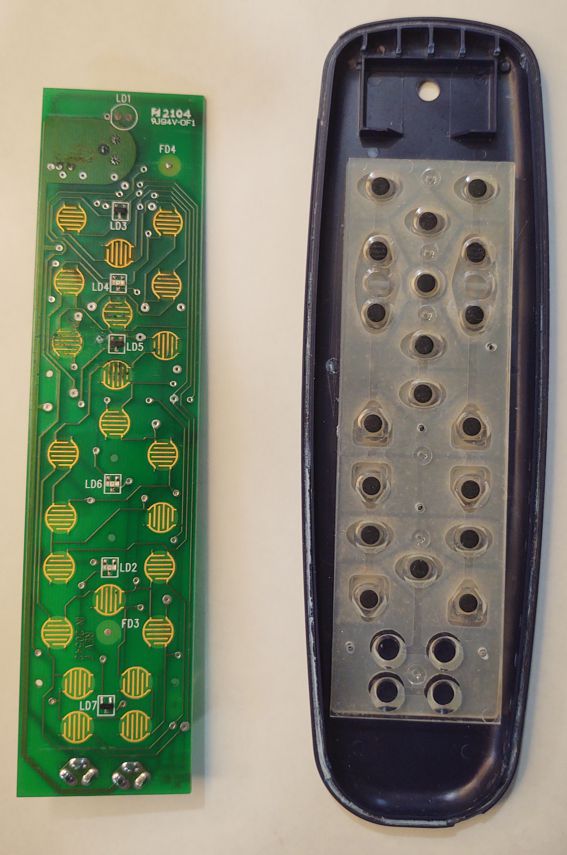
IMPORTANT: The housing is glued together. There are no screws or clips. Once pried open, it will require tape or glue to close the housing back up.
DO NOT use super glue!
Any glue should be a type that remains flexible. Shoe Goo, Goop, E6000 (all the same) is what I recommend. This glue holds well but is also completely removable with a little effort. Silicone will work but makes a mess if you ever need to re-open it again, you'll never get all the old glue off and gluing to glue doesn't work as well.
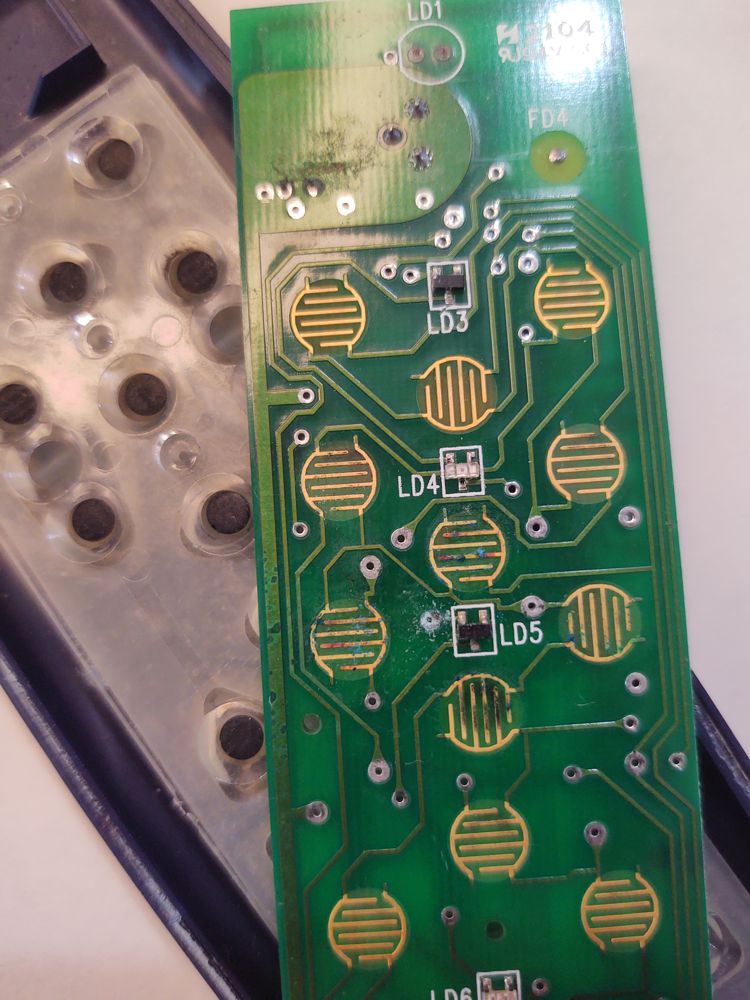
IMPORTANT: CLEAN THE CIRCUIT BOARD WITH ISOPROPYL ALCOHOL
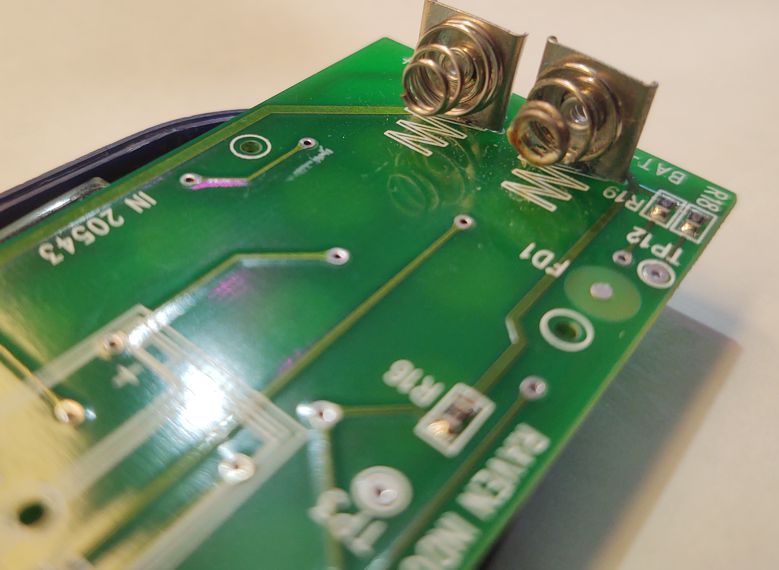
Install the ButtonWorx™ repair membrane with the glossy side facing toward the rubber keypad. If you put it in upside down the holes for the battery contacts at the bottom will be off.
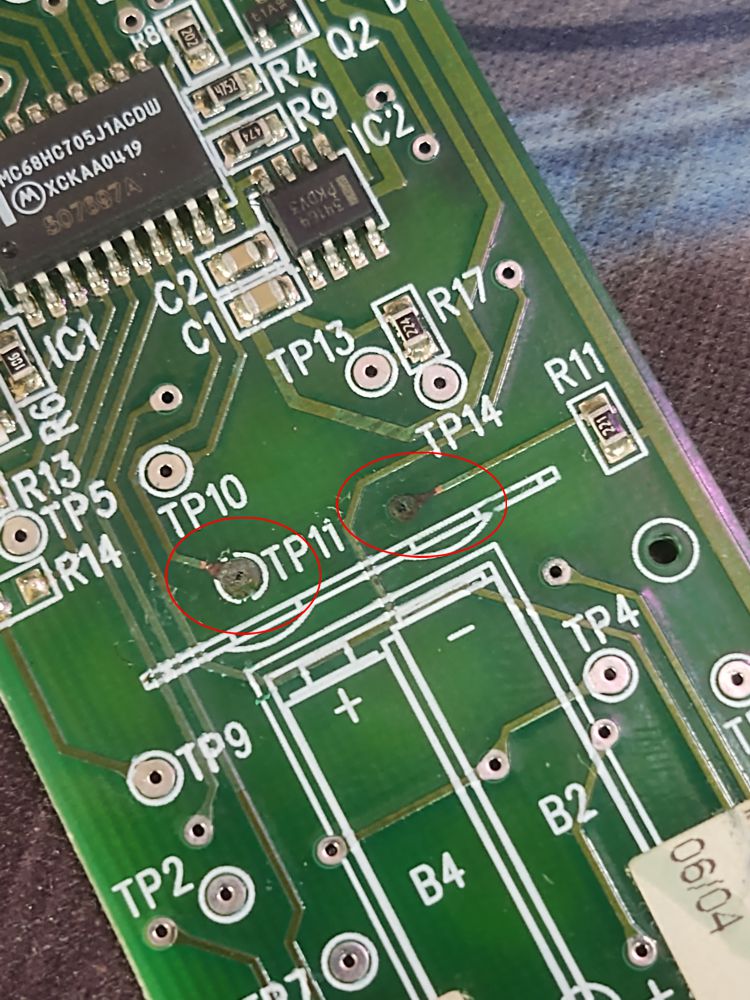
If your circuit board is corroded, it needs to be cleaned up or it will keep corroding and eventually eat through tracings. Deoxit Red is the best for this but Isopropyl and a q-tip is better than nothing. You may need to scrape it with a metal tool.
If a tracing is damaged by corrosion you may be able to repair it using silver conductive paint. HERE
Try1:
Hit the LEARN button under the bed. LED on bed control starts blinking.
On the remote press the HEAD up and FOOT up button at the same time
Try2:
Remove 9v batteries from controller and remote
Unplug bed controller (Wait 5 minutes)
Re-install batteries and power up the bed control box
On the Remote: Press AND HOLD top left "Flat" button AND the bottom left ON/OFF button for massage at the same time
Top LED on remote will start to blink slowly, then fast - Continue to hold both buttons for 5 seconds
If the remote still does not operate the bed repeat the procedure
Thanks for saving me a $100+
I went online to find a replacement for a KSMBR20543T. Ebay had them "used" starting at $101 to $185. YIKES. I checked "repair" and found this site. A little alcohol and it works fine. Thanks so much.
International Letter Mail Shipping Available