- Out-of-Stock
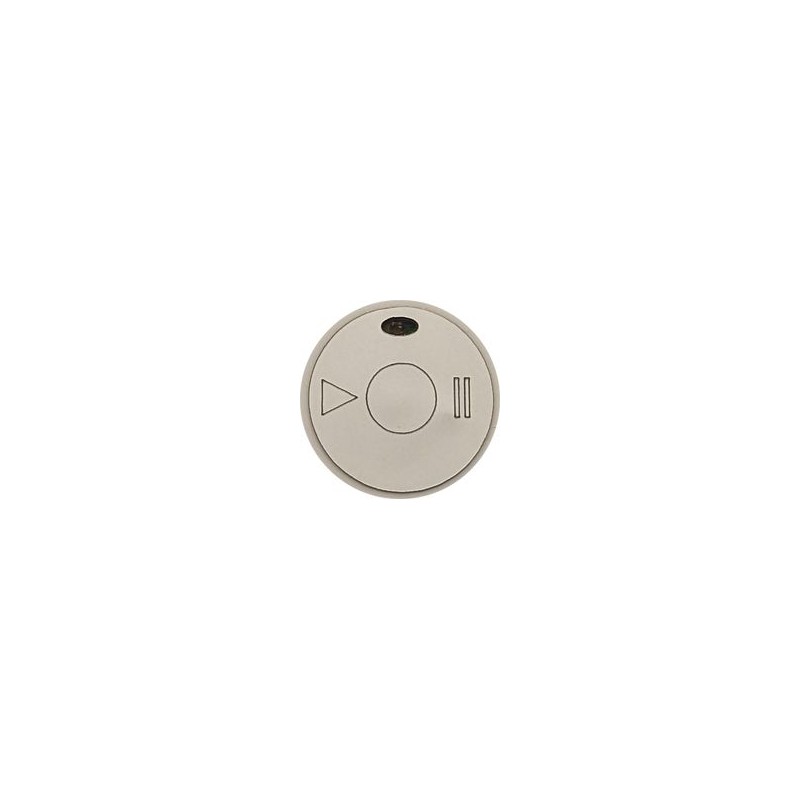


No longer available!
Repair is unlikely to help
 Security policy
No data sold or shared. NO SPAM!
 Economy Shipping
Sent by Letter Mail - No Tracking
 Return policy
90-day money back guarantee
.png) USD
USD
$ Indicates prices are in USD
UPDATE:
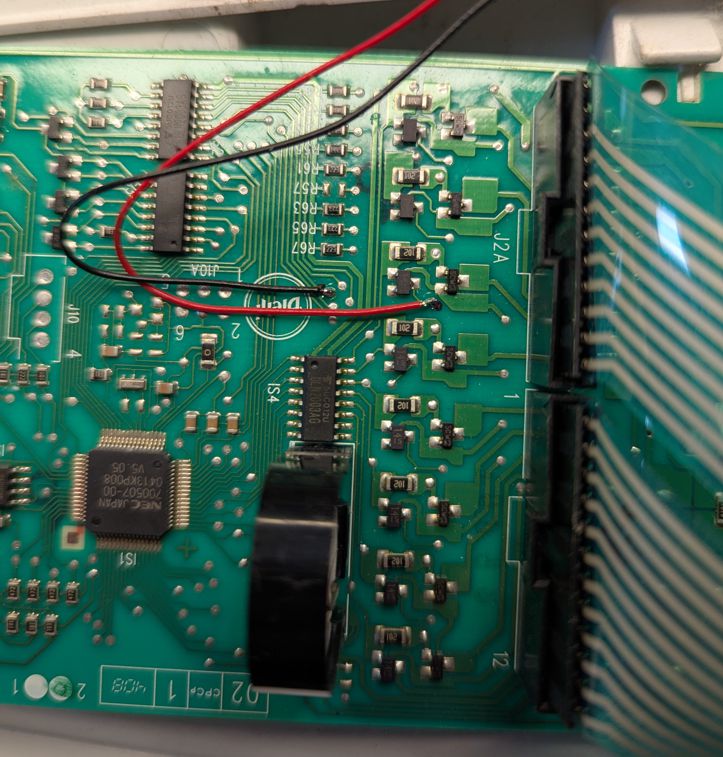
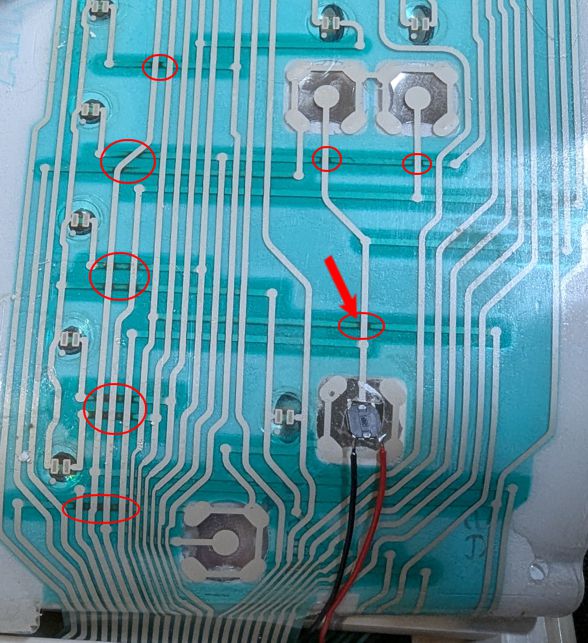
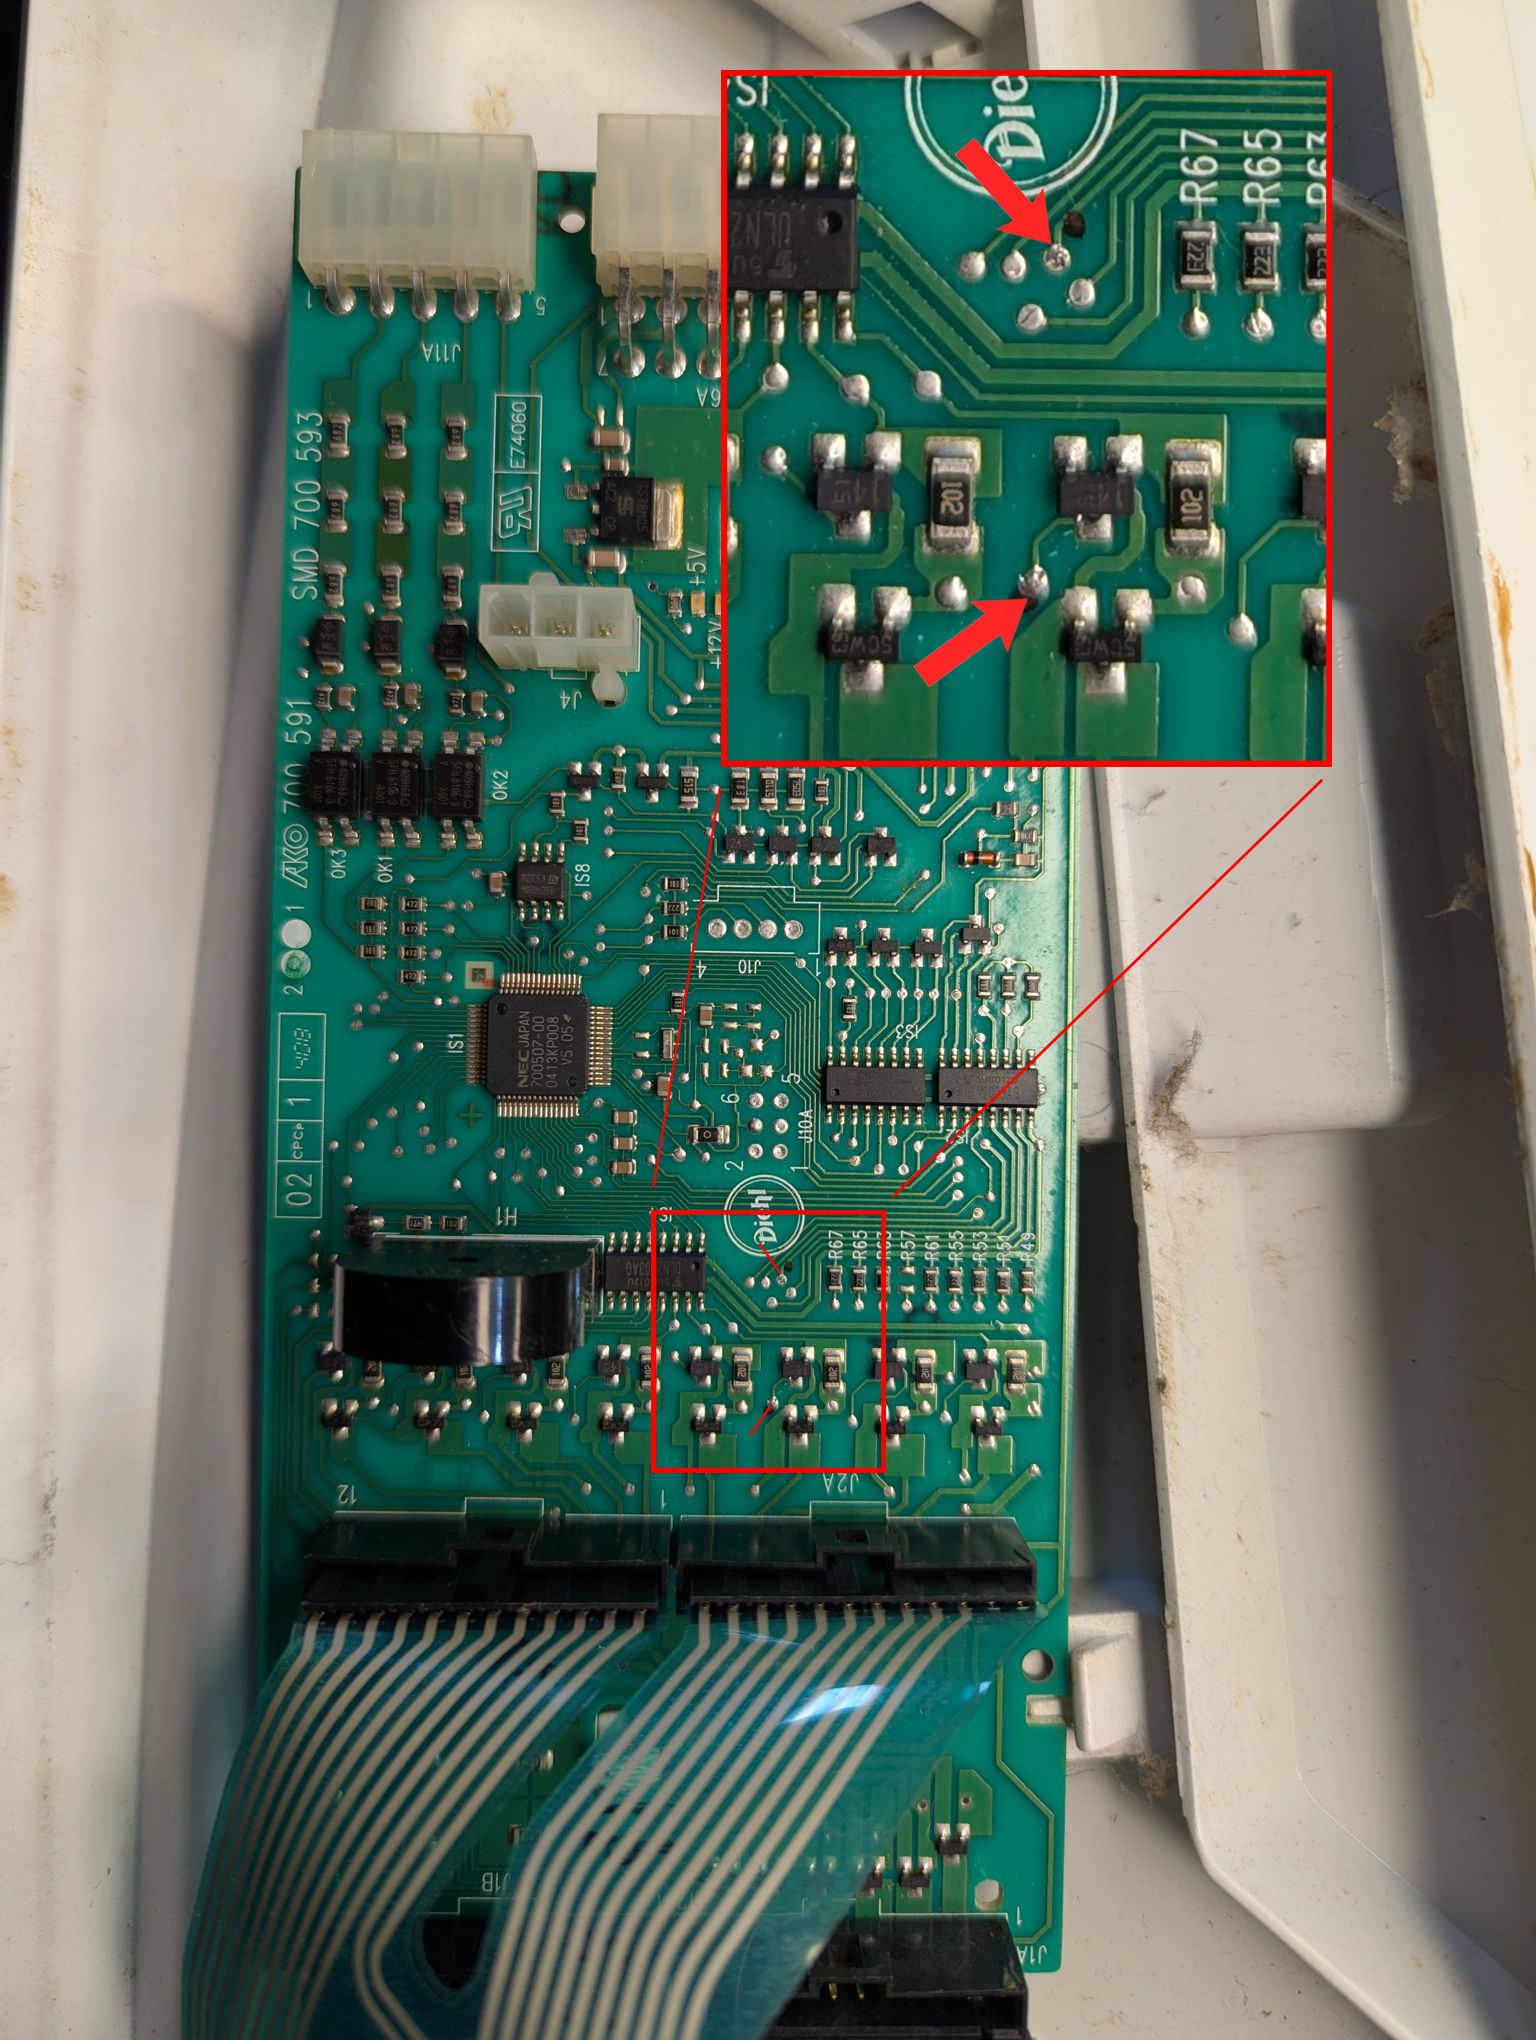
It appears that the Start button may not work for other reasons including shorts between traces on the keypad circuitry. The single layer circuit uses green insulation over traces so it can add a new trace across the lower ones. This insulation is breaking down and allowing signals to cross.
Click on attachments tab to download a repair manual
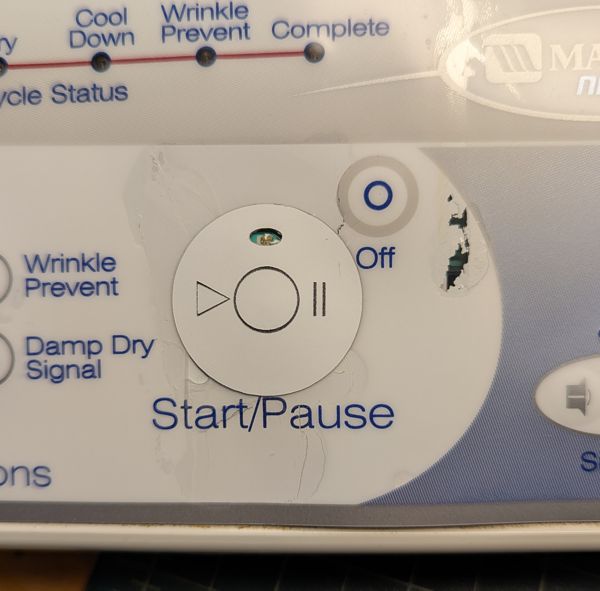
Note: I have not seen one of these in operation myself. I believe that the green LED above the start button is probably a "ready" light. If it's not on, then there may be some error state causing the unit to not allow to start. Unfortunately the manuals do not describe this light.
The common reason for button failure is due to the printed layer ink crumbling to powder. That dust makes it's way under the metal dome and blocks the conductivity of the switch.
Options:
1) Switch Cover with new metal dome
2) Switch cover with new micro switch and wire. This requires soldering
3) Get it all just to be sure! Two covers in case you run into problems, a new snap dome AND a new micro switch with wires.
Do at your own risk!
To repair, you need to use a sharp exacto knife. Carefully cut a cross over the circle area of the button, then cut a box around the cross cut. Peel away the pieces. There are two layers of plastic to get through. Use repetitive light cuts and be carful not to slip past the metal dome area. If you cut through the lower layer you can damage the circuit tracings. As long as you keep these cuts over the snap dome you are not going to cut through the metal dome.
The hole will not be large enough yet so you need to slice off more of the top area using the knife at an angle.
Once you have the hole almost as large as the snap dome you can get in there with tweezers and pull the old snap dome out.
Clean out any white powder with compressed air, small brush, forceful puff of air, etc..
Install the new metal dome. Make sure it is completely under the top two layers and touching the silver printed pad on all 4 corners. The dome will be lose and you need to make sure it is centered when you put the new top sticker on. If you want, you can use a small piece of scotch tape to hold it in place while you apply the new top sticker. Use the smallest piece you can get away with.
The top sticker is thin black plastic with white plastic on top. The white is laser engraved off to expose the black graphics. This is water resistant and no ink is used so it can't wash away or have the same issue as before. Peel the backing off and center the sticker over the old button area making sure the snap dome is positioned correctly.
If you need other buttons fixed on this besides the Play Pause, please contact me.
Complete new switch hack
If you need a new button soldered in because the old one was too far damaged....
Peel up the button panel by warming the adhesive membrane keypad with a hot hair dryer (heat guns are too hot!)
Get it nice and warm then peel up the keypad from the left edge
Important! Try to NOT bend the keypad much when peeling it off. Blow the hair dryer under the membrane once you have it started to loosen the glue directly. Take it slow. You may want to use a plastic card as a tool to push in there and separate the adhesive from the plastic housing without pulling the membrane at an angle or curve.
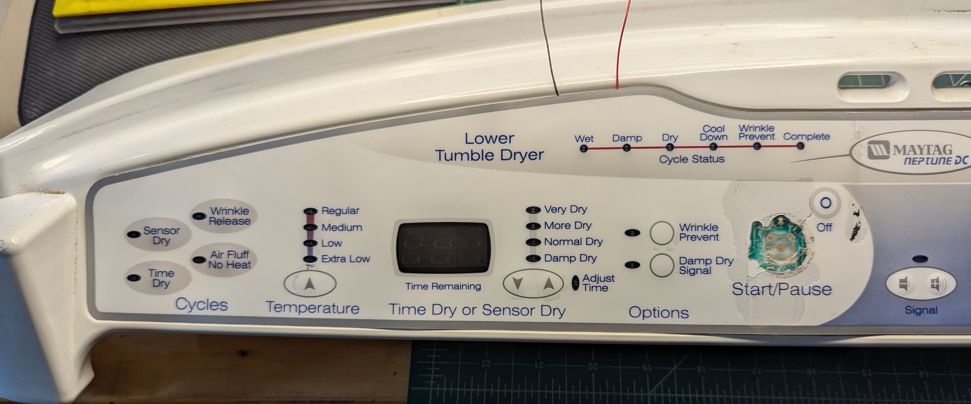
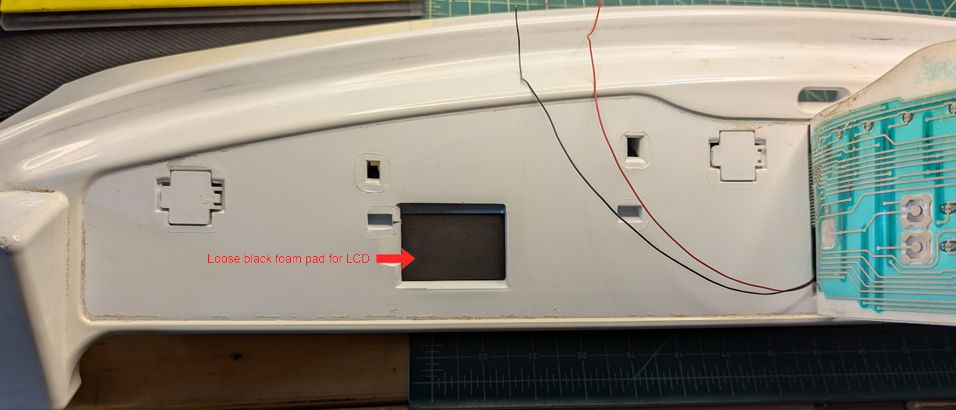
Fish the wires for the new switch through the slot
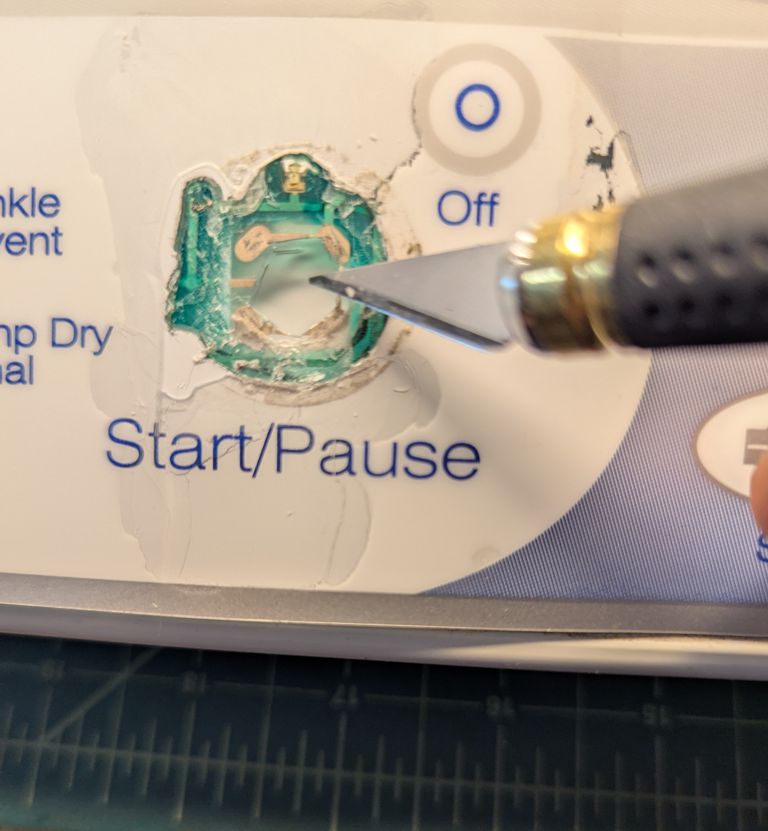
Cut a small hole in the center of the old button. What you see here is larger than it needs to be. Just a small square, cutting out the original old metal dome switch.
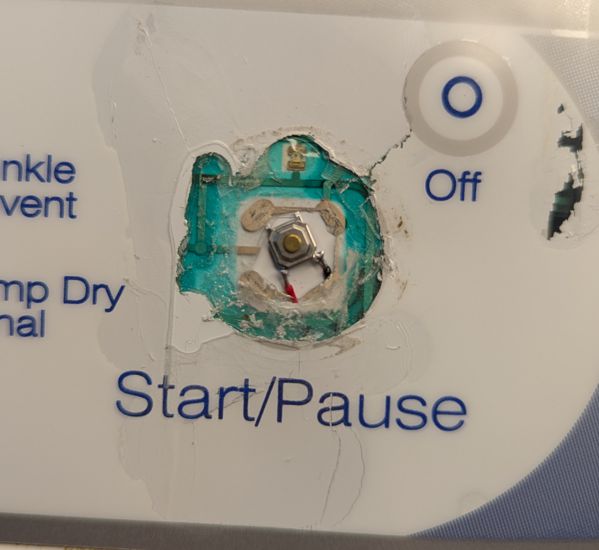
NOTE: It's just a switch so wire color and orientation doesn't matter
